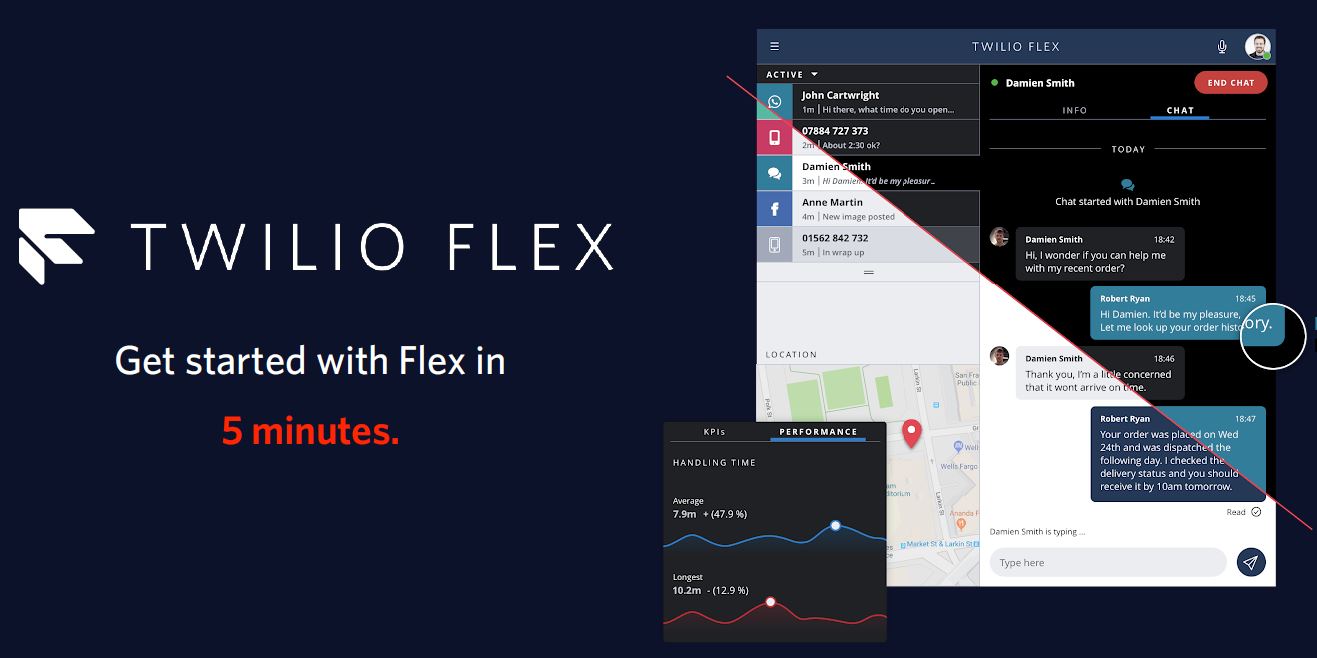
- Create account on Twilio Flex for free.
https://www.twilio.com/flex
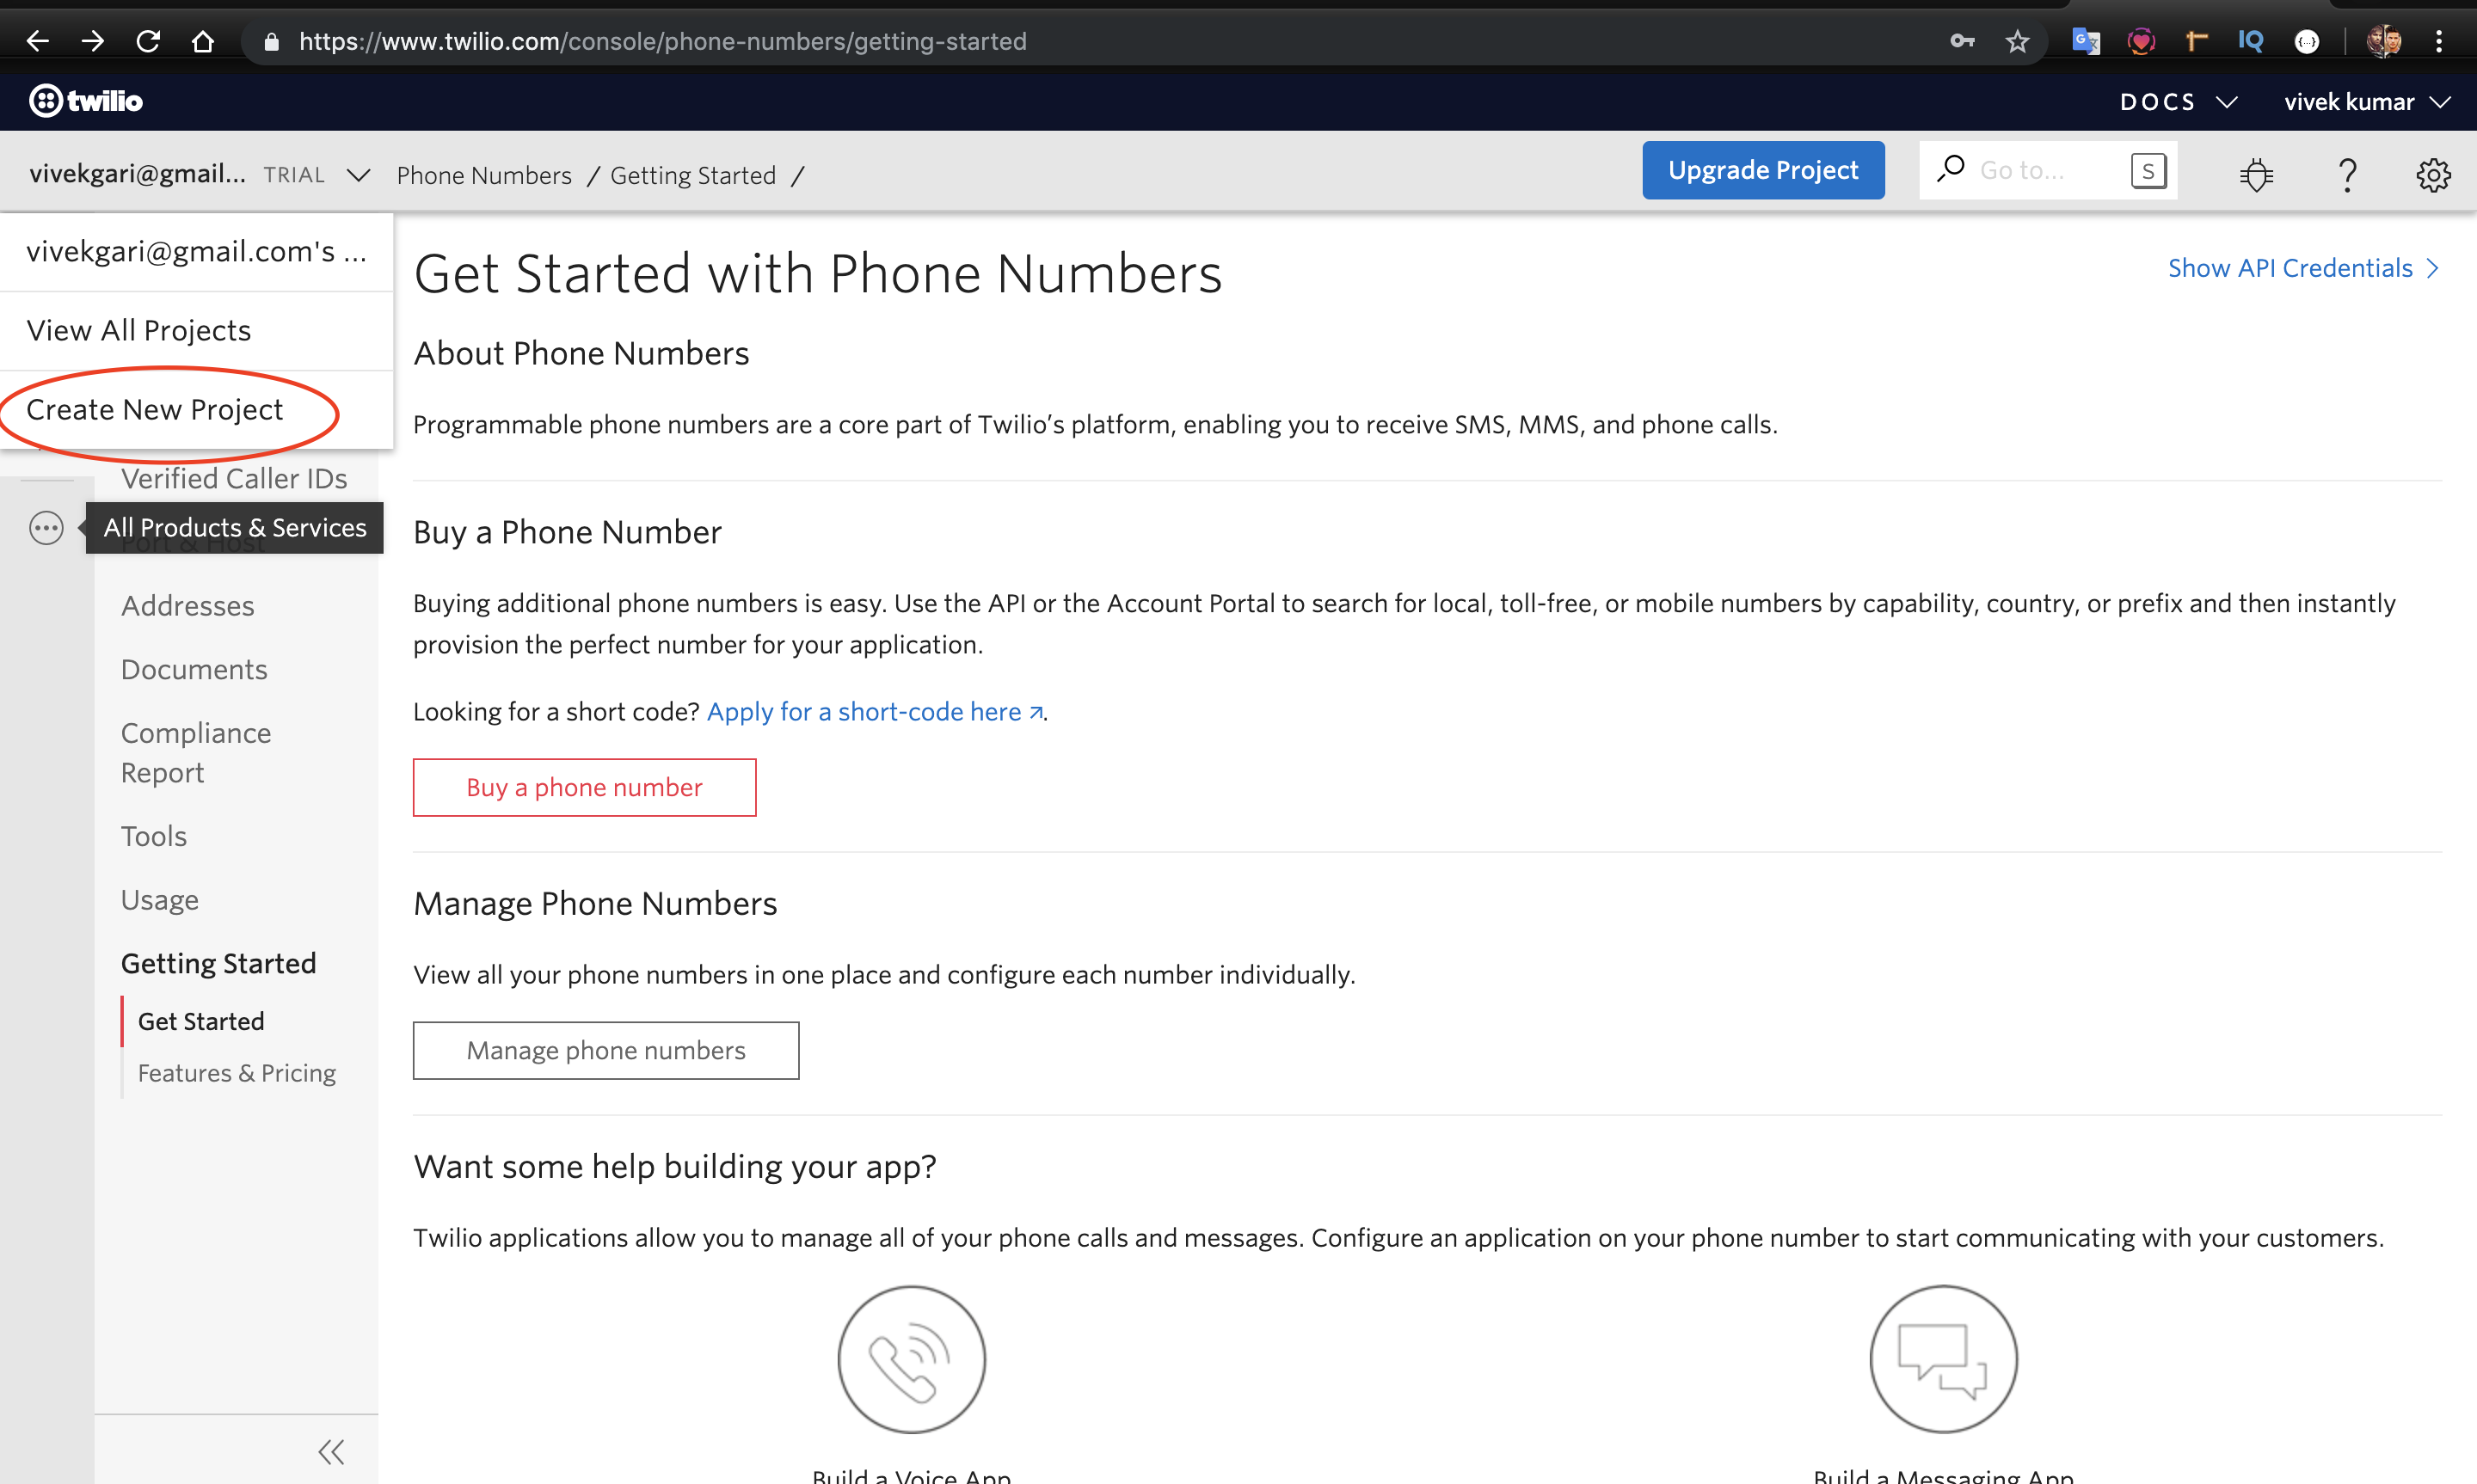
- After creating account with Twilio Flex, create a new project.
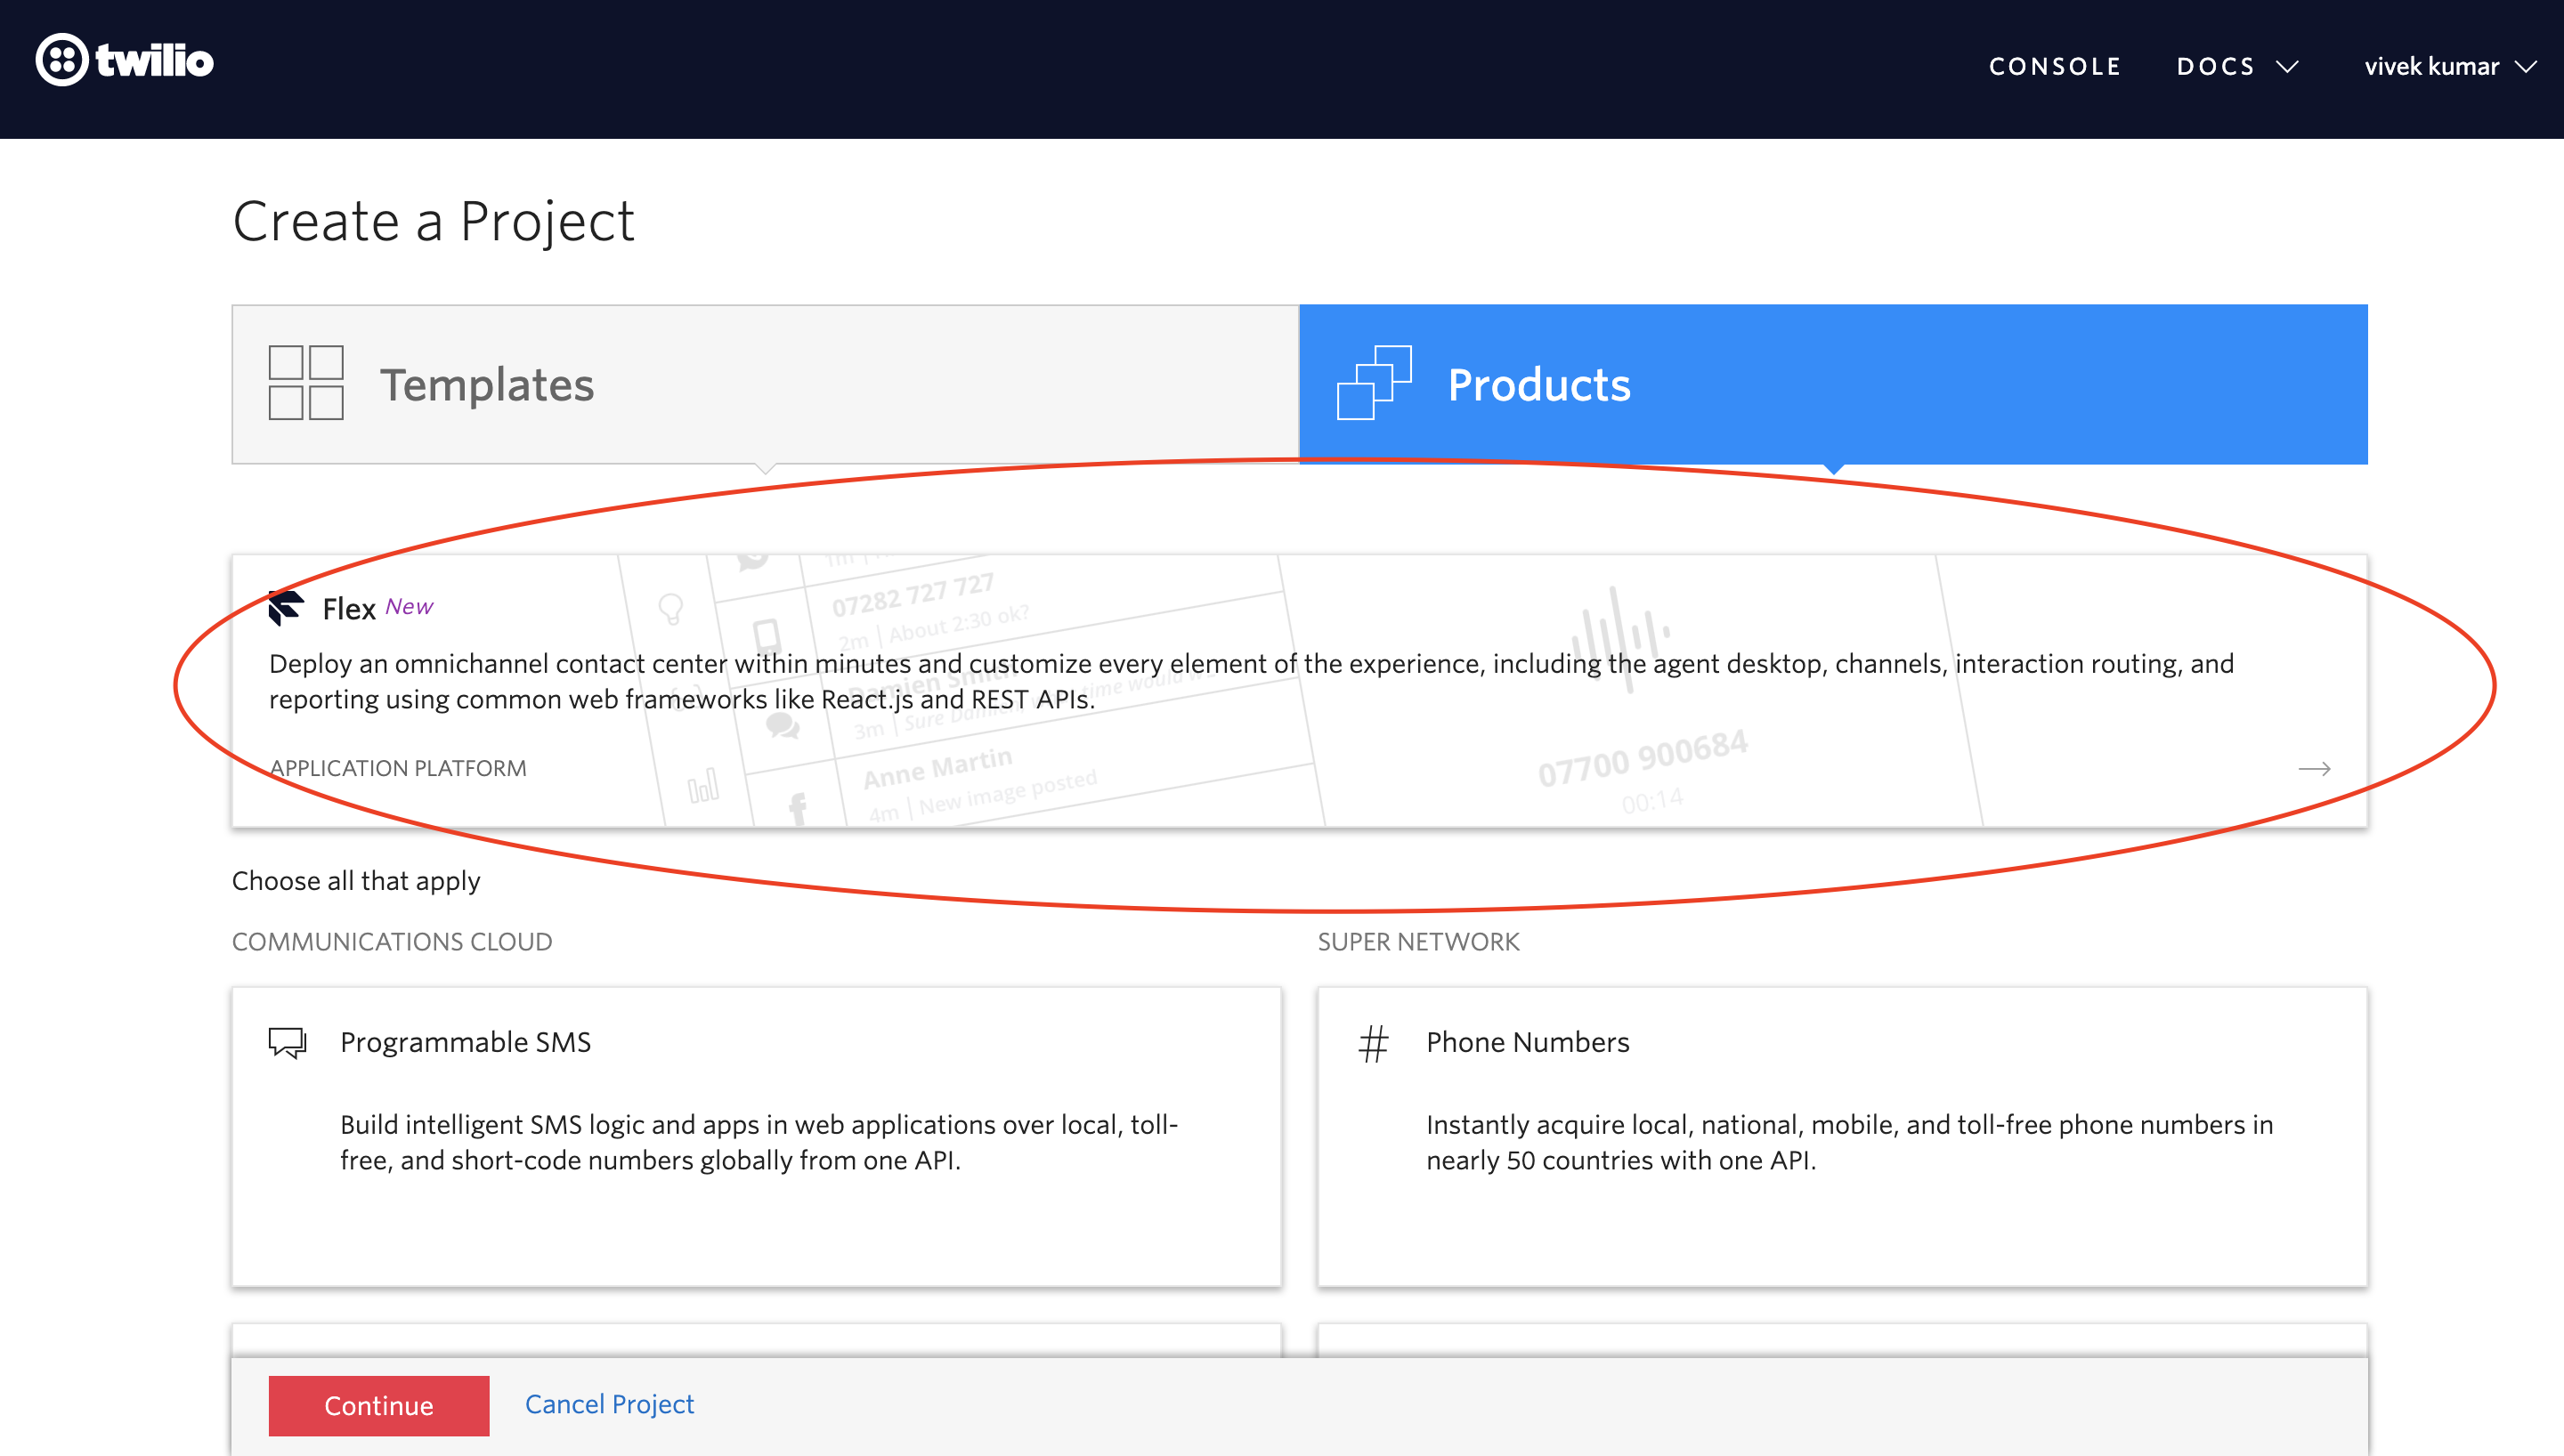
- You will find various type of project in Twilio. Select Flex option.
- Give name to you Twilio Flex project. Skip the next step and wait for the new Twilio Flex project to be created.
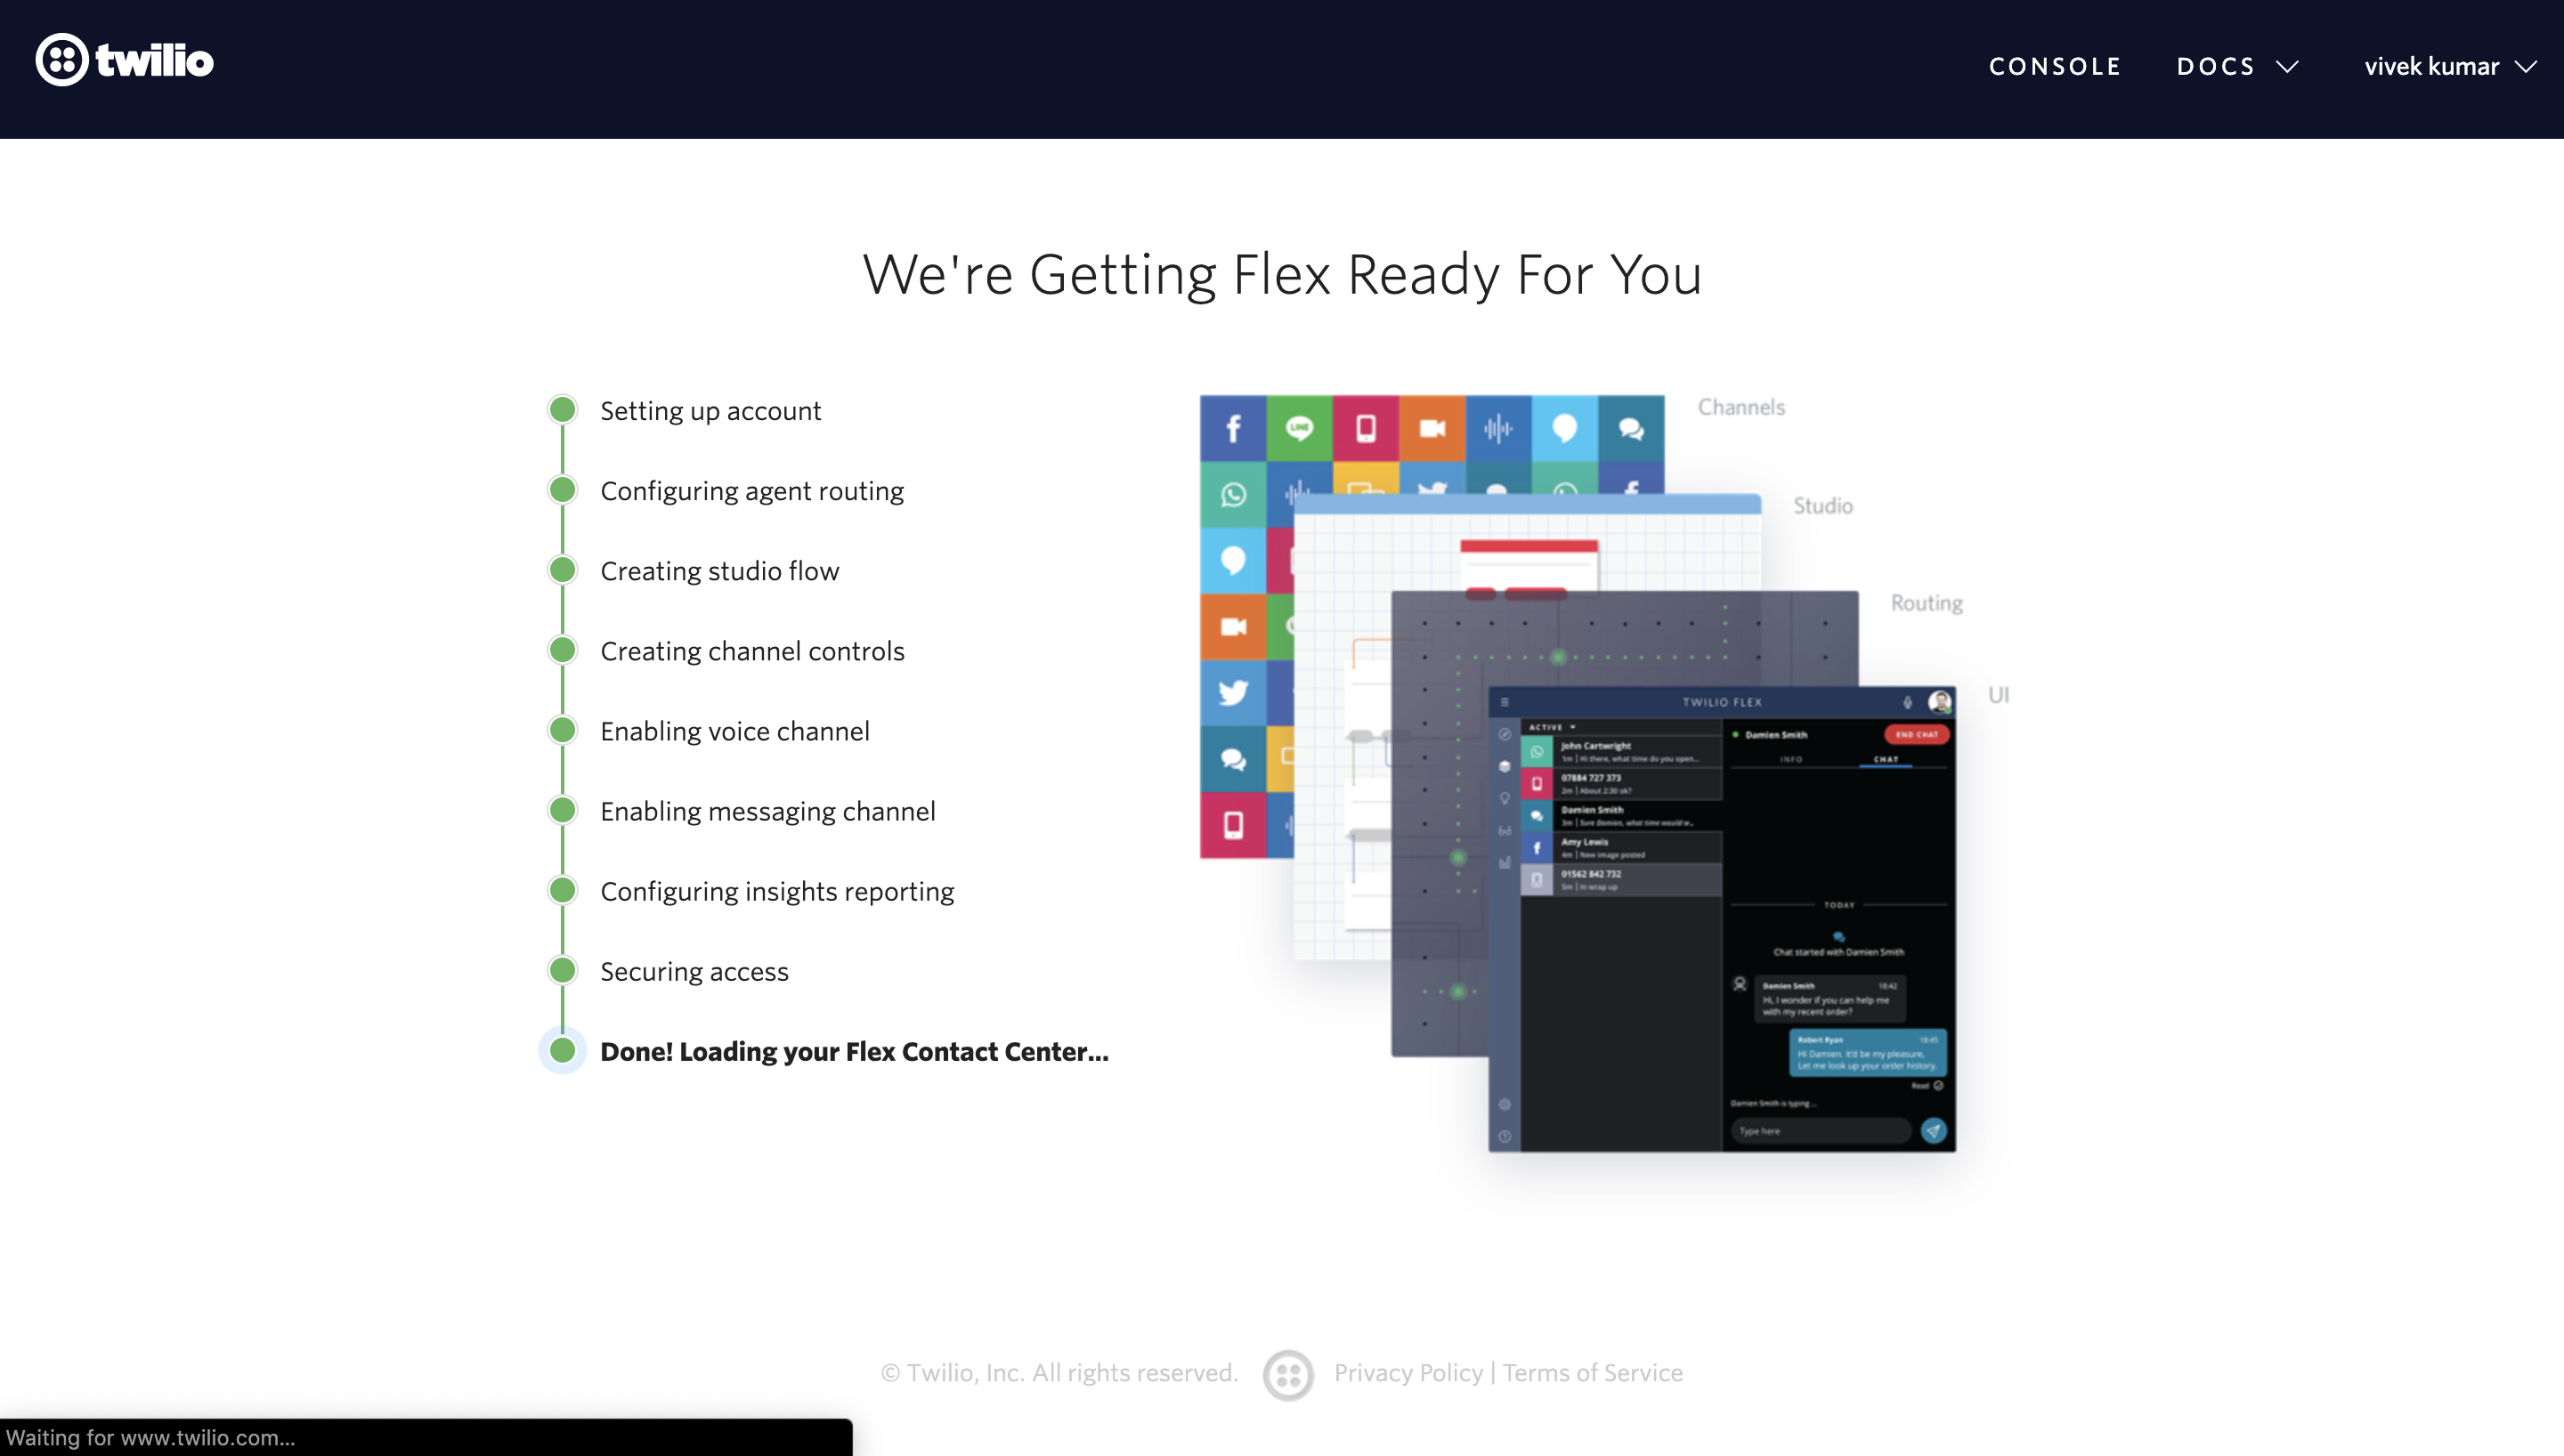
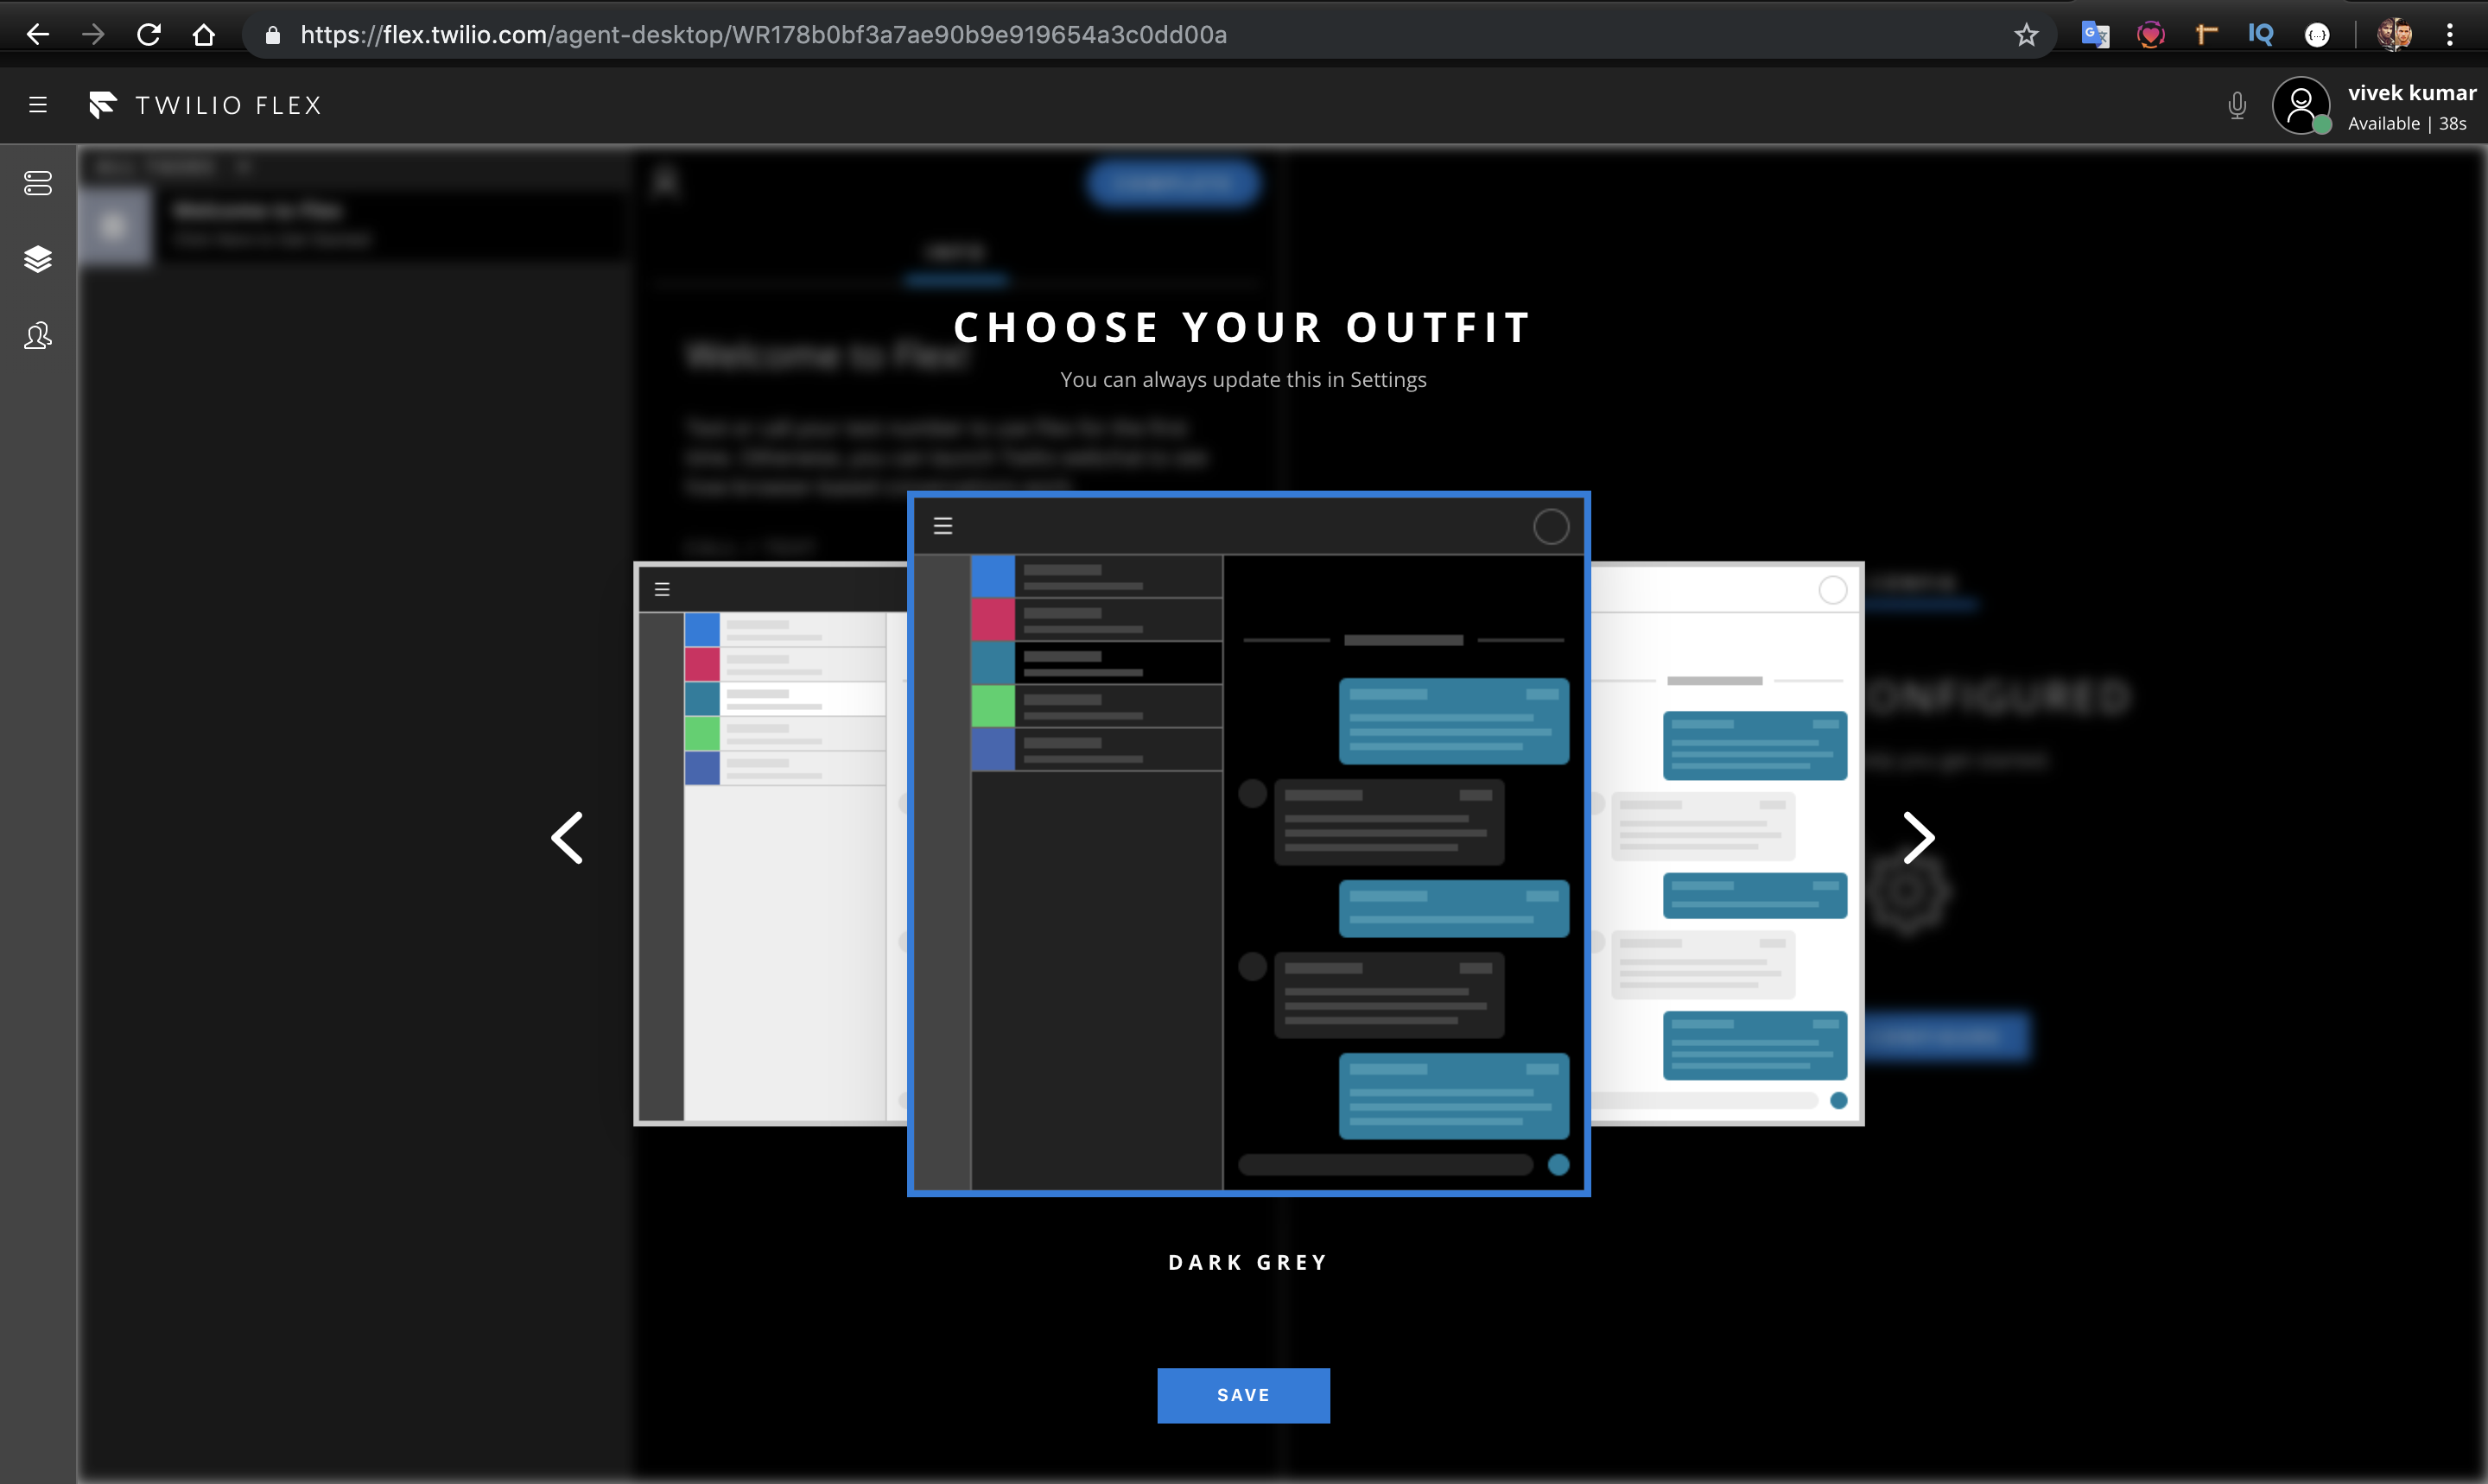
- Twilio will give you option to select colour theme for Twilio Dashboard. Select any theme of you choice.
- Now your Twilio flex project is ready to be setup on your local system.
- Now let’s move onto setting codebase to local system. Make sure that npm and node are installed on your system.
Refer this link for further details –
https://www.twilio.com/docs/flex/quickstart/getting-started-plugin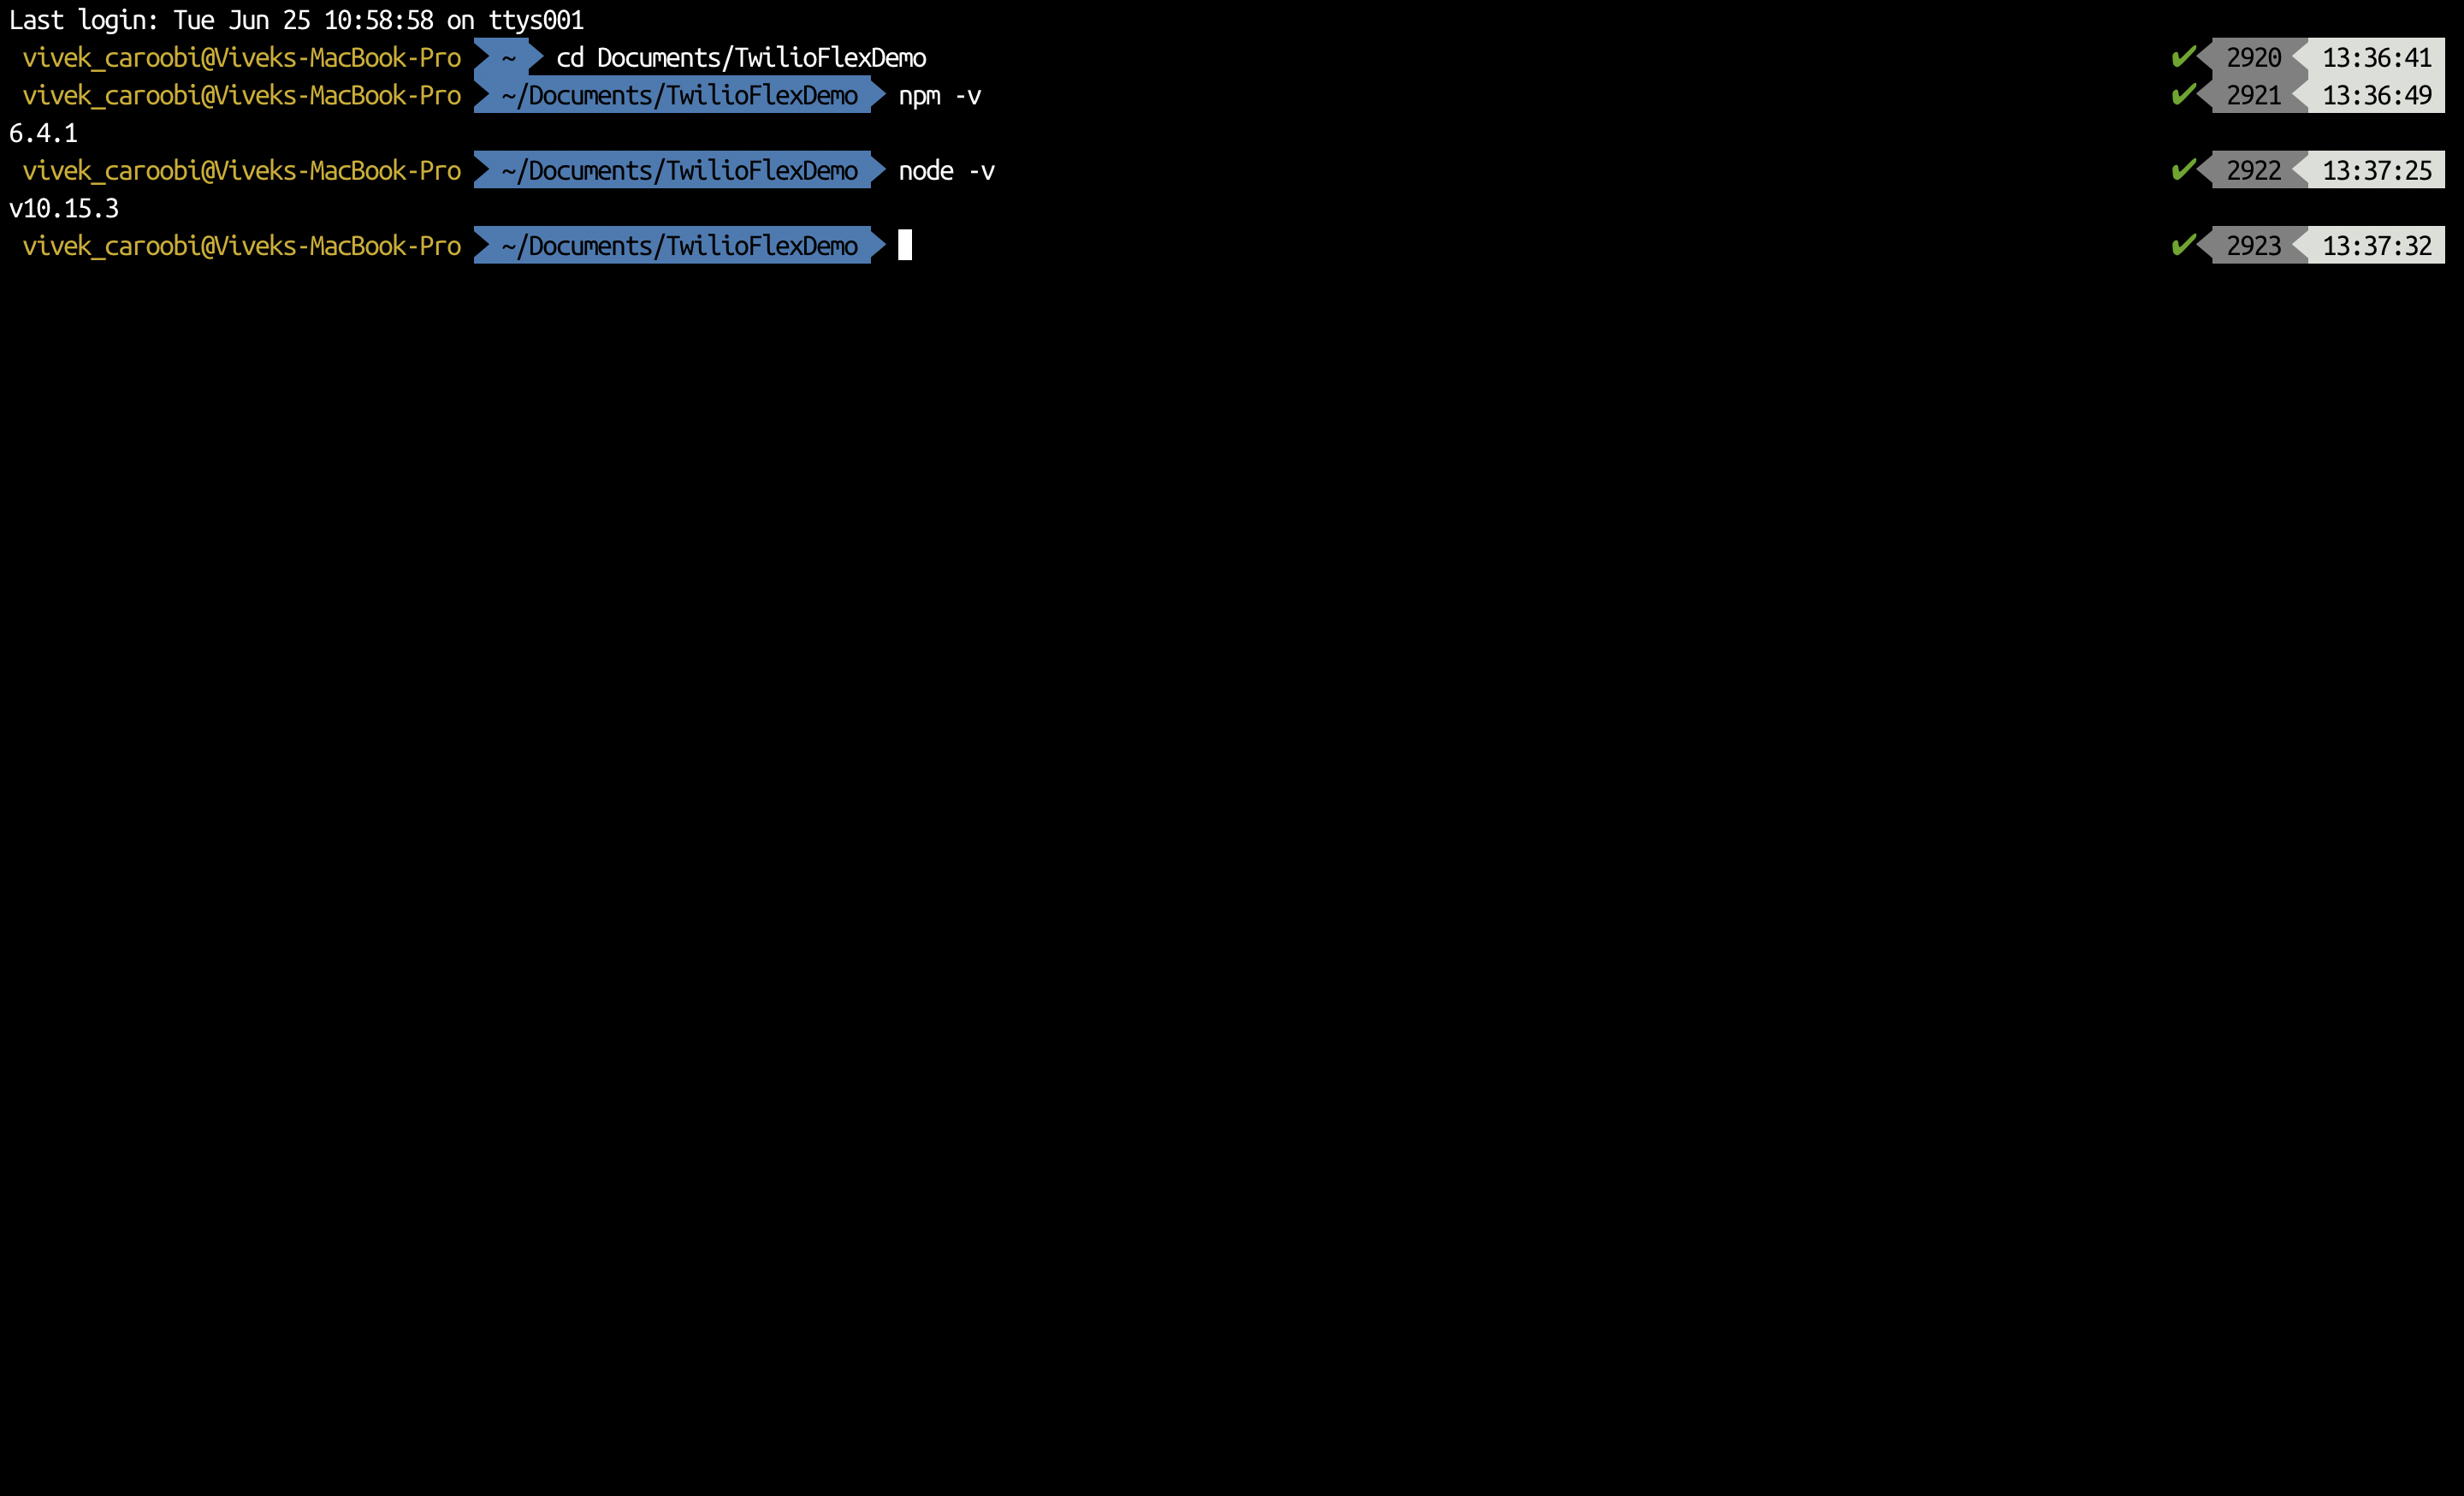
- Now in the terminal run the following commands –
npm install -g create-flex-plugin
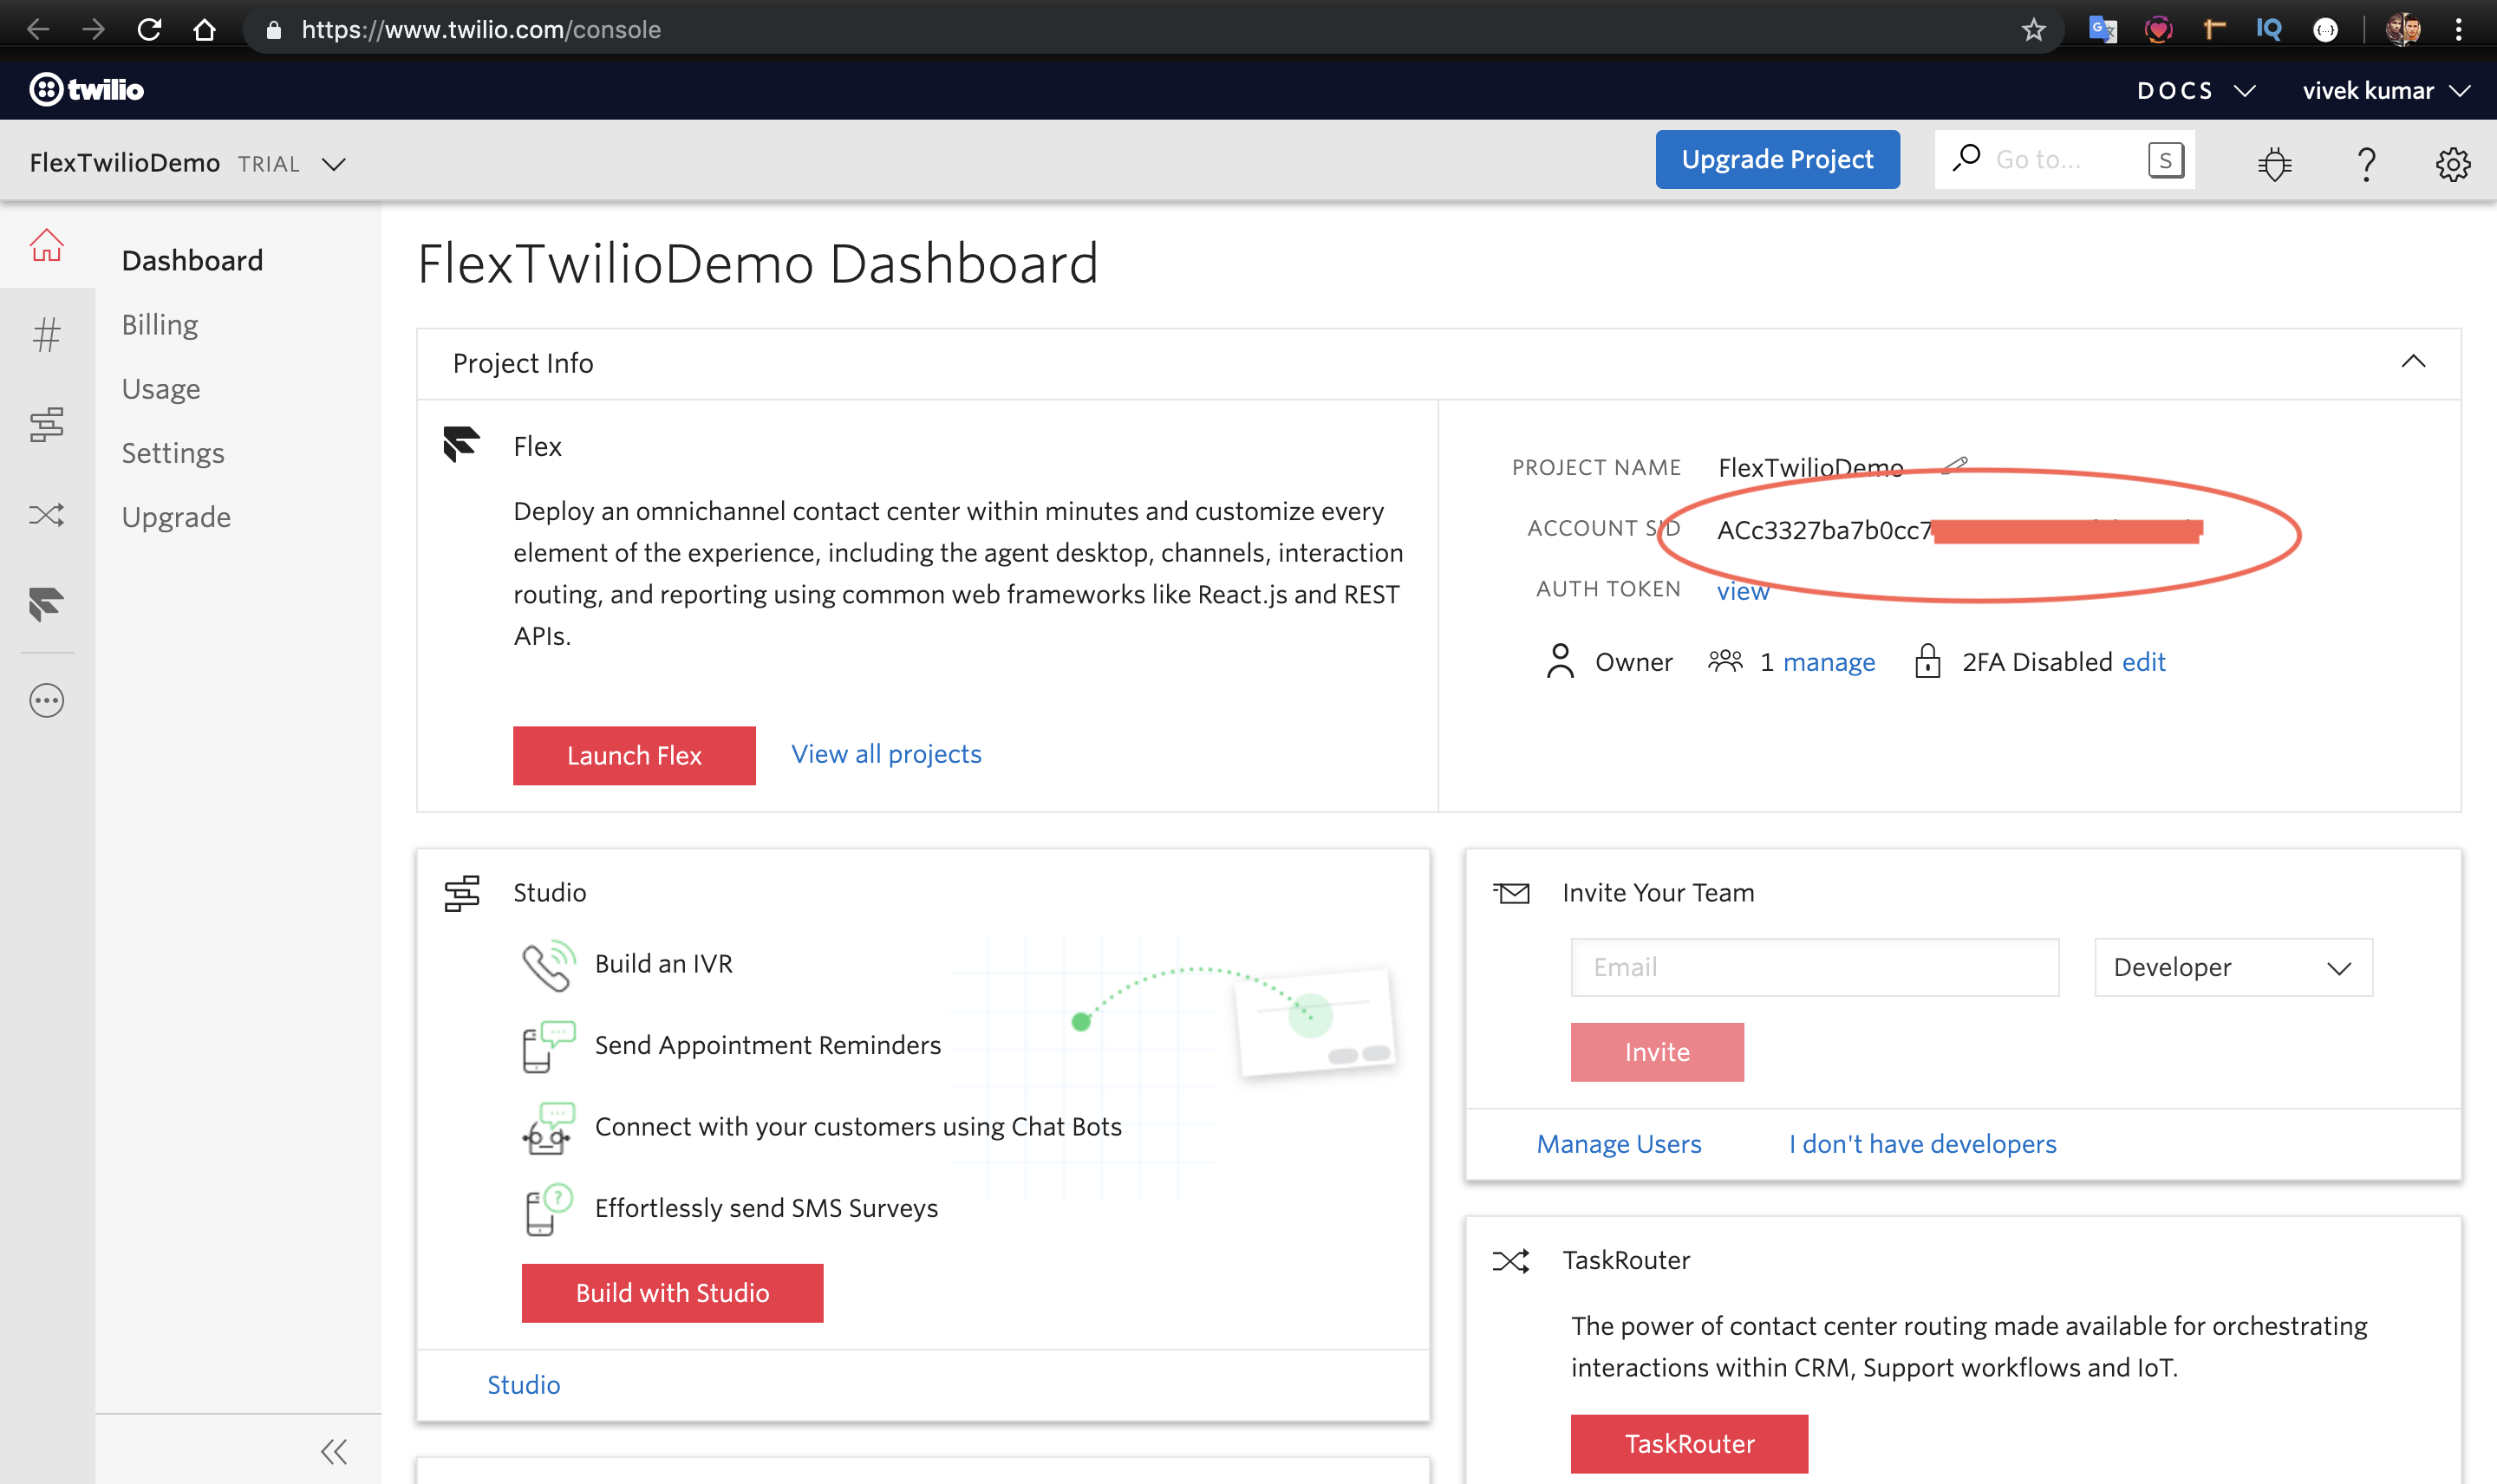
create-flex-plugin plugin-sampleThis will ask for Twilio Flex Account SID. You can find it on Twilio Dashboard Console. You can find it here –
- Now run following commands
cd plugin-sample – this will take you to twilio flex project directory.
npm install – this will install the dependencies required for Twilio Flex Project. - Now lets run Twilio Flex project –
npm start
This will automatically open http://localhost:3000/
It will ask for login credentials. Login using the credentials you already provided during registration.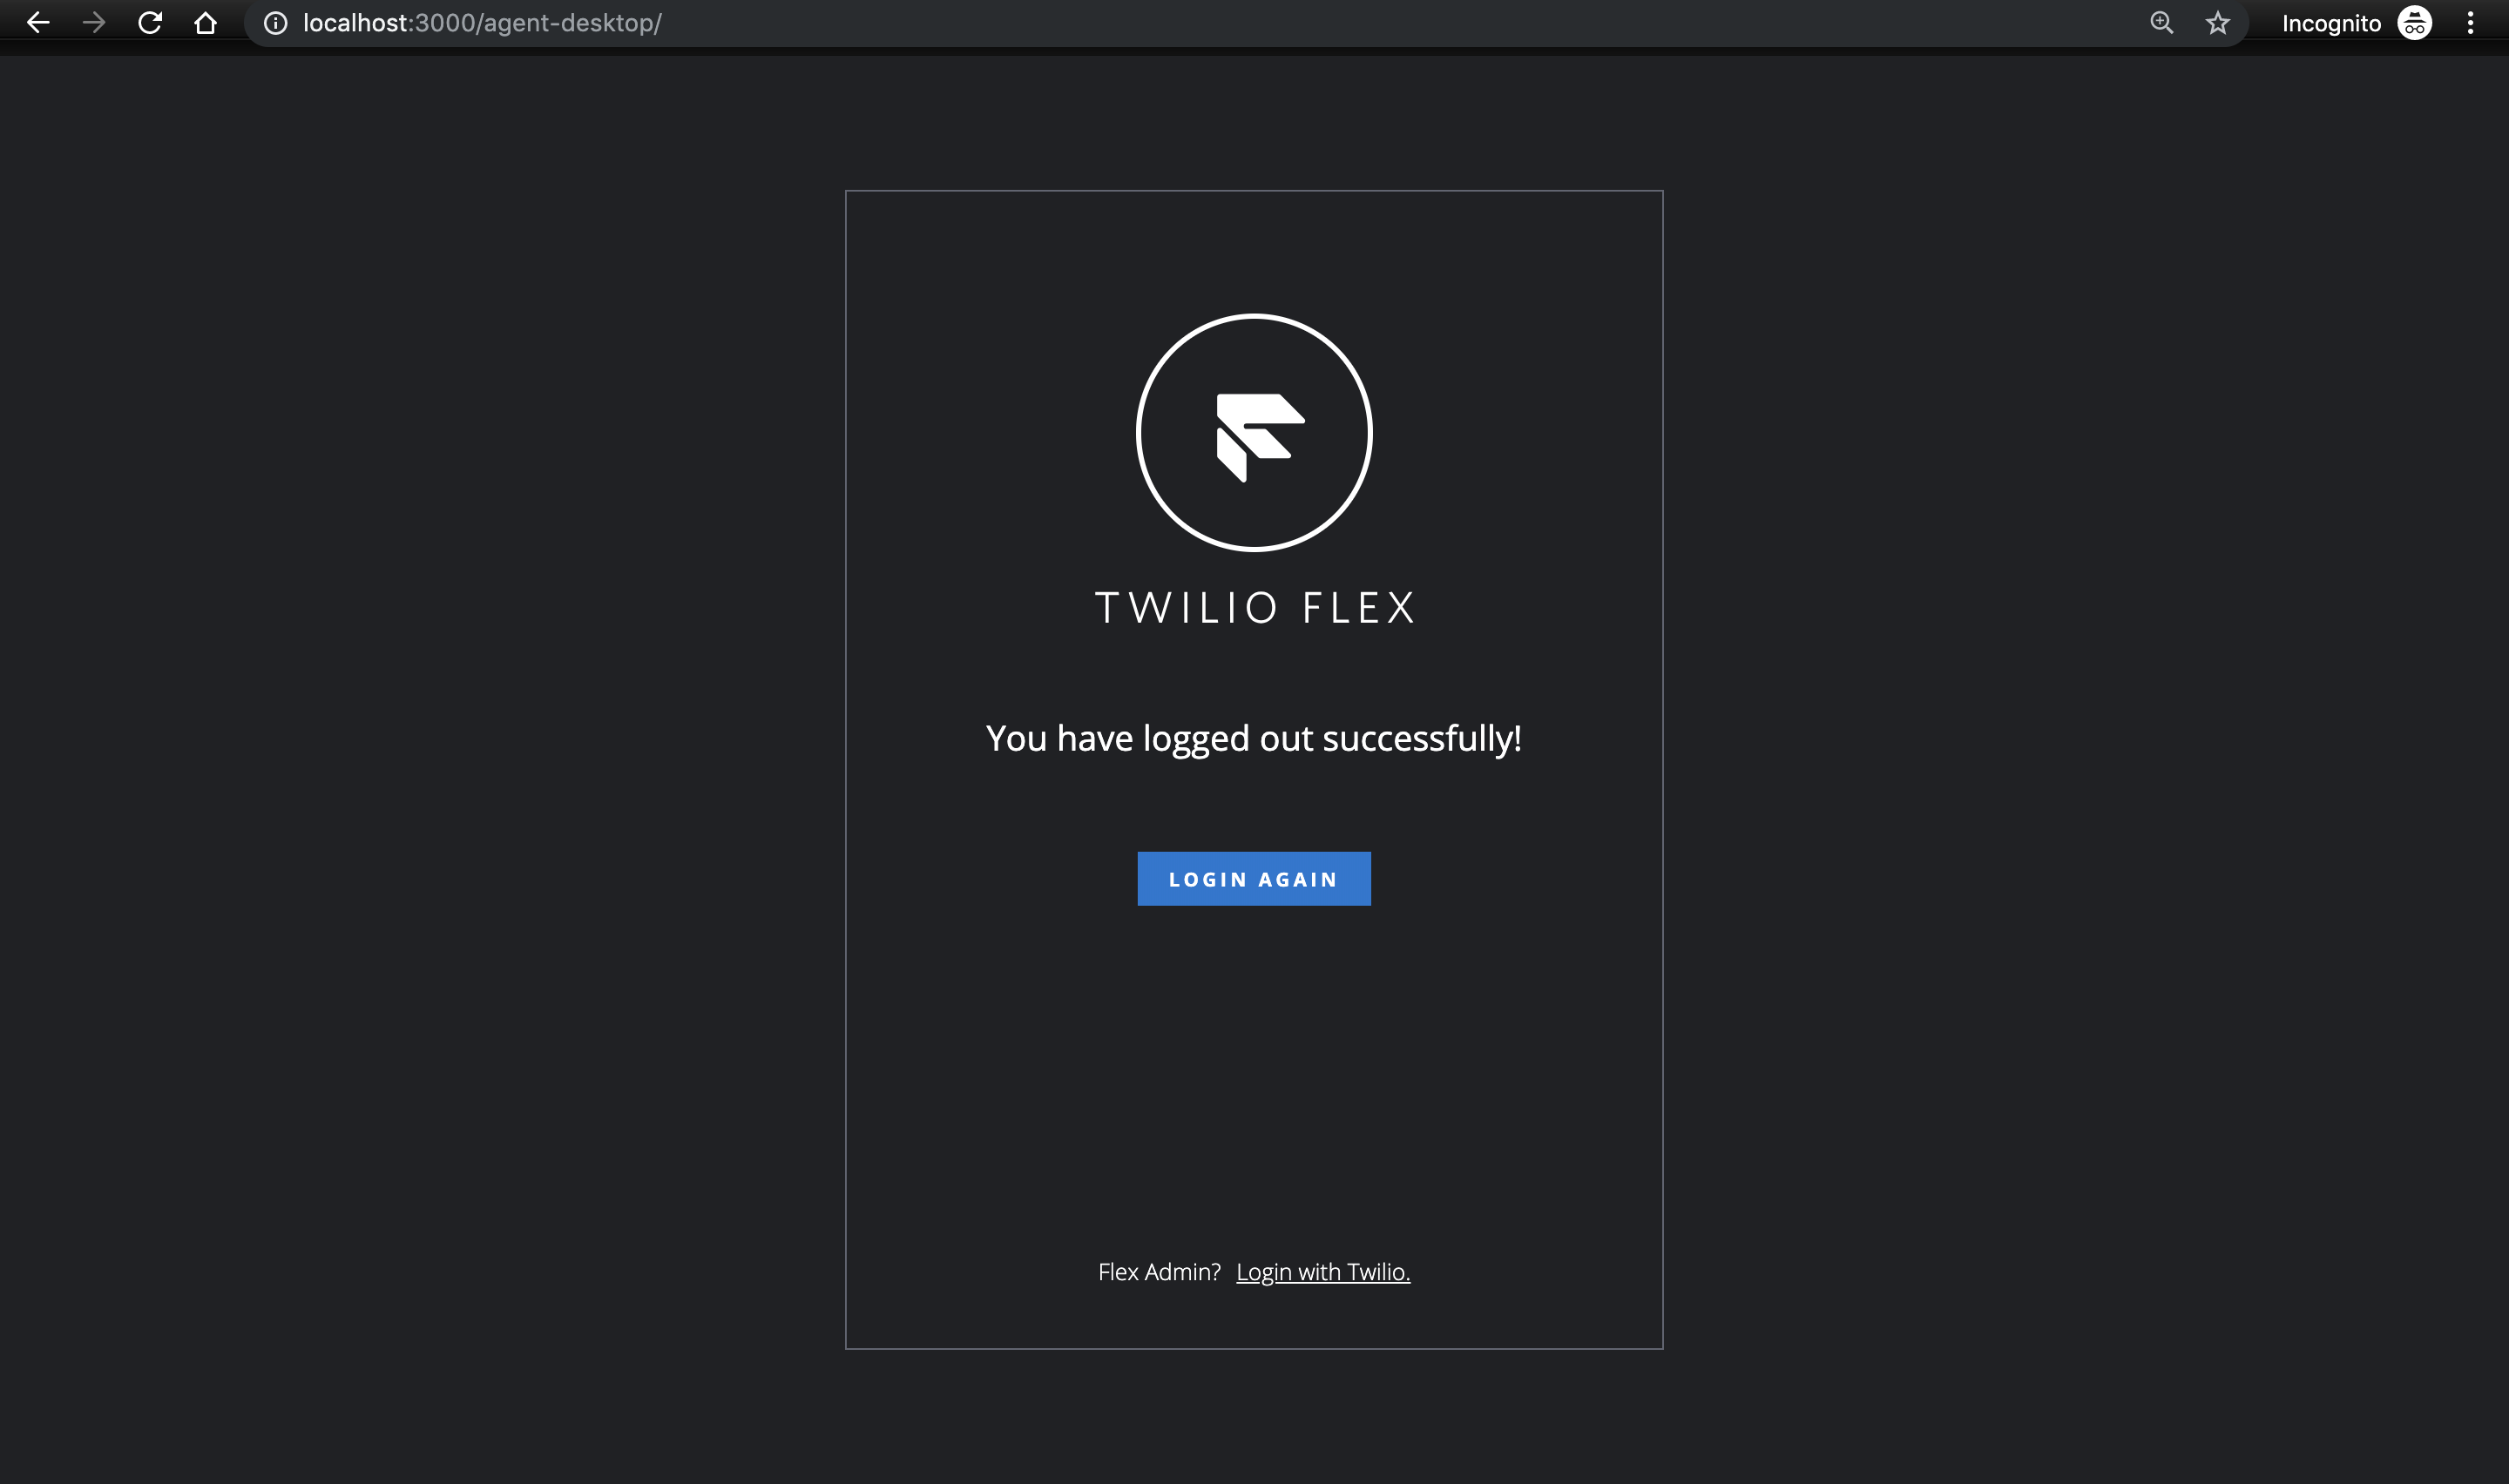
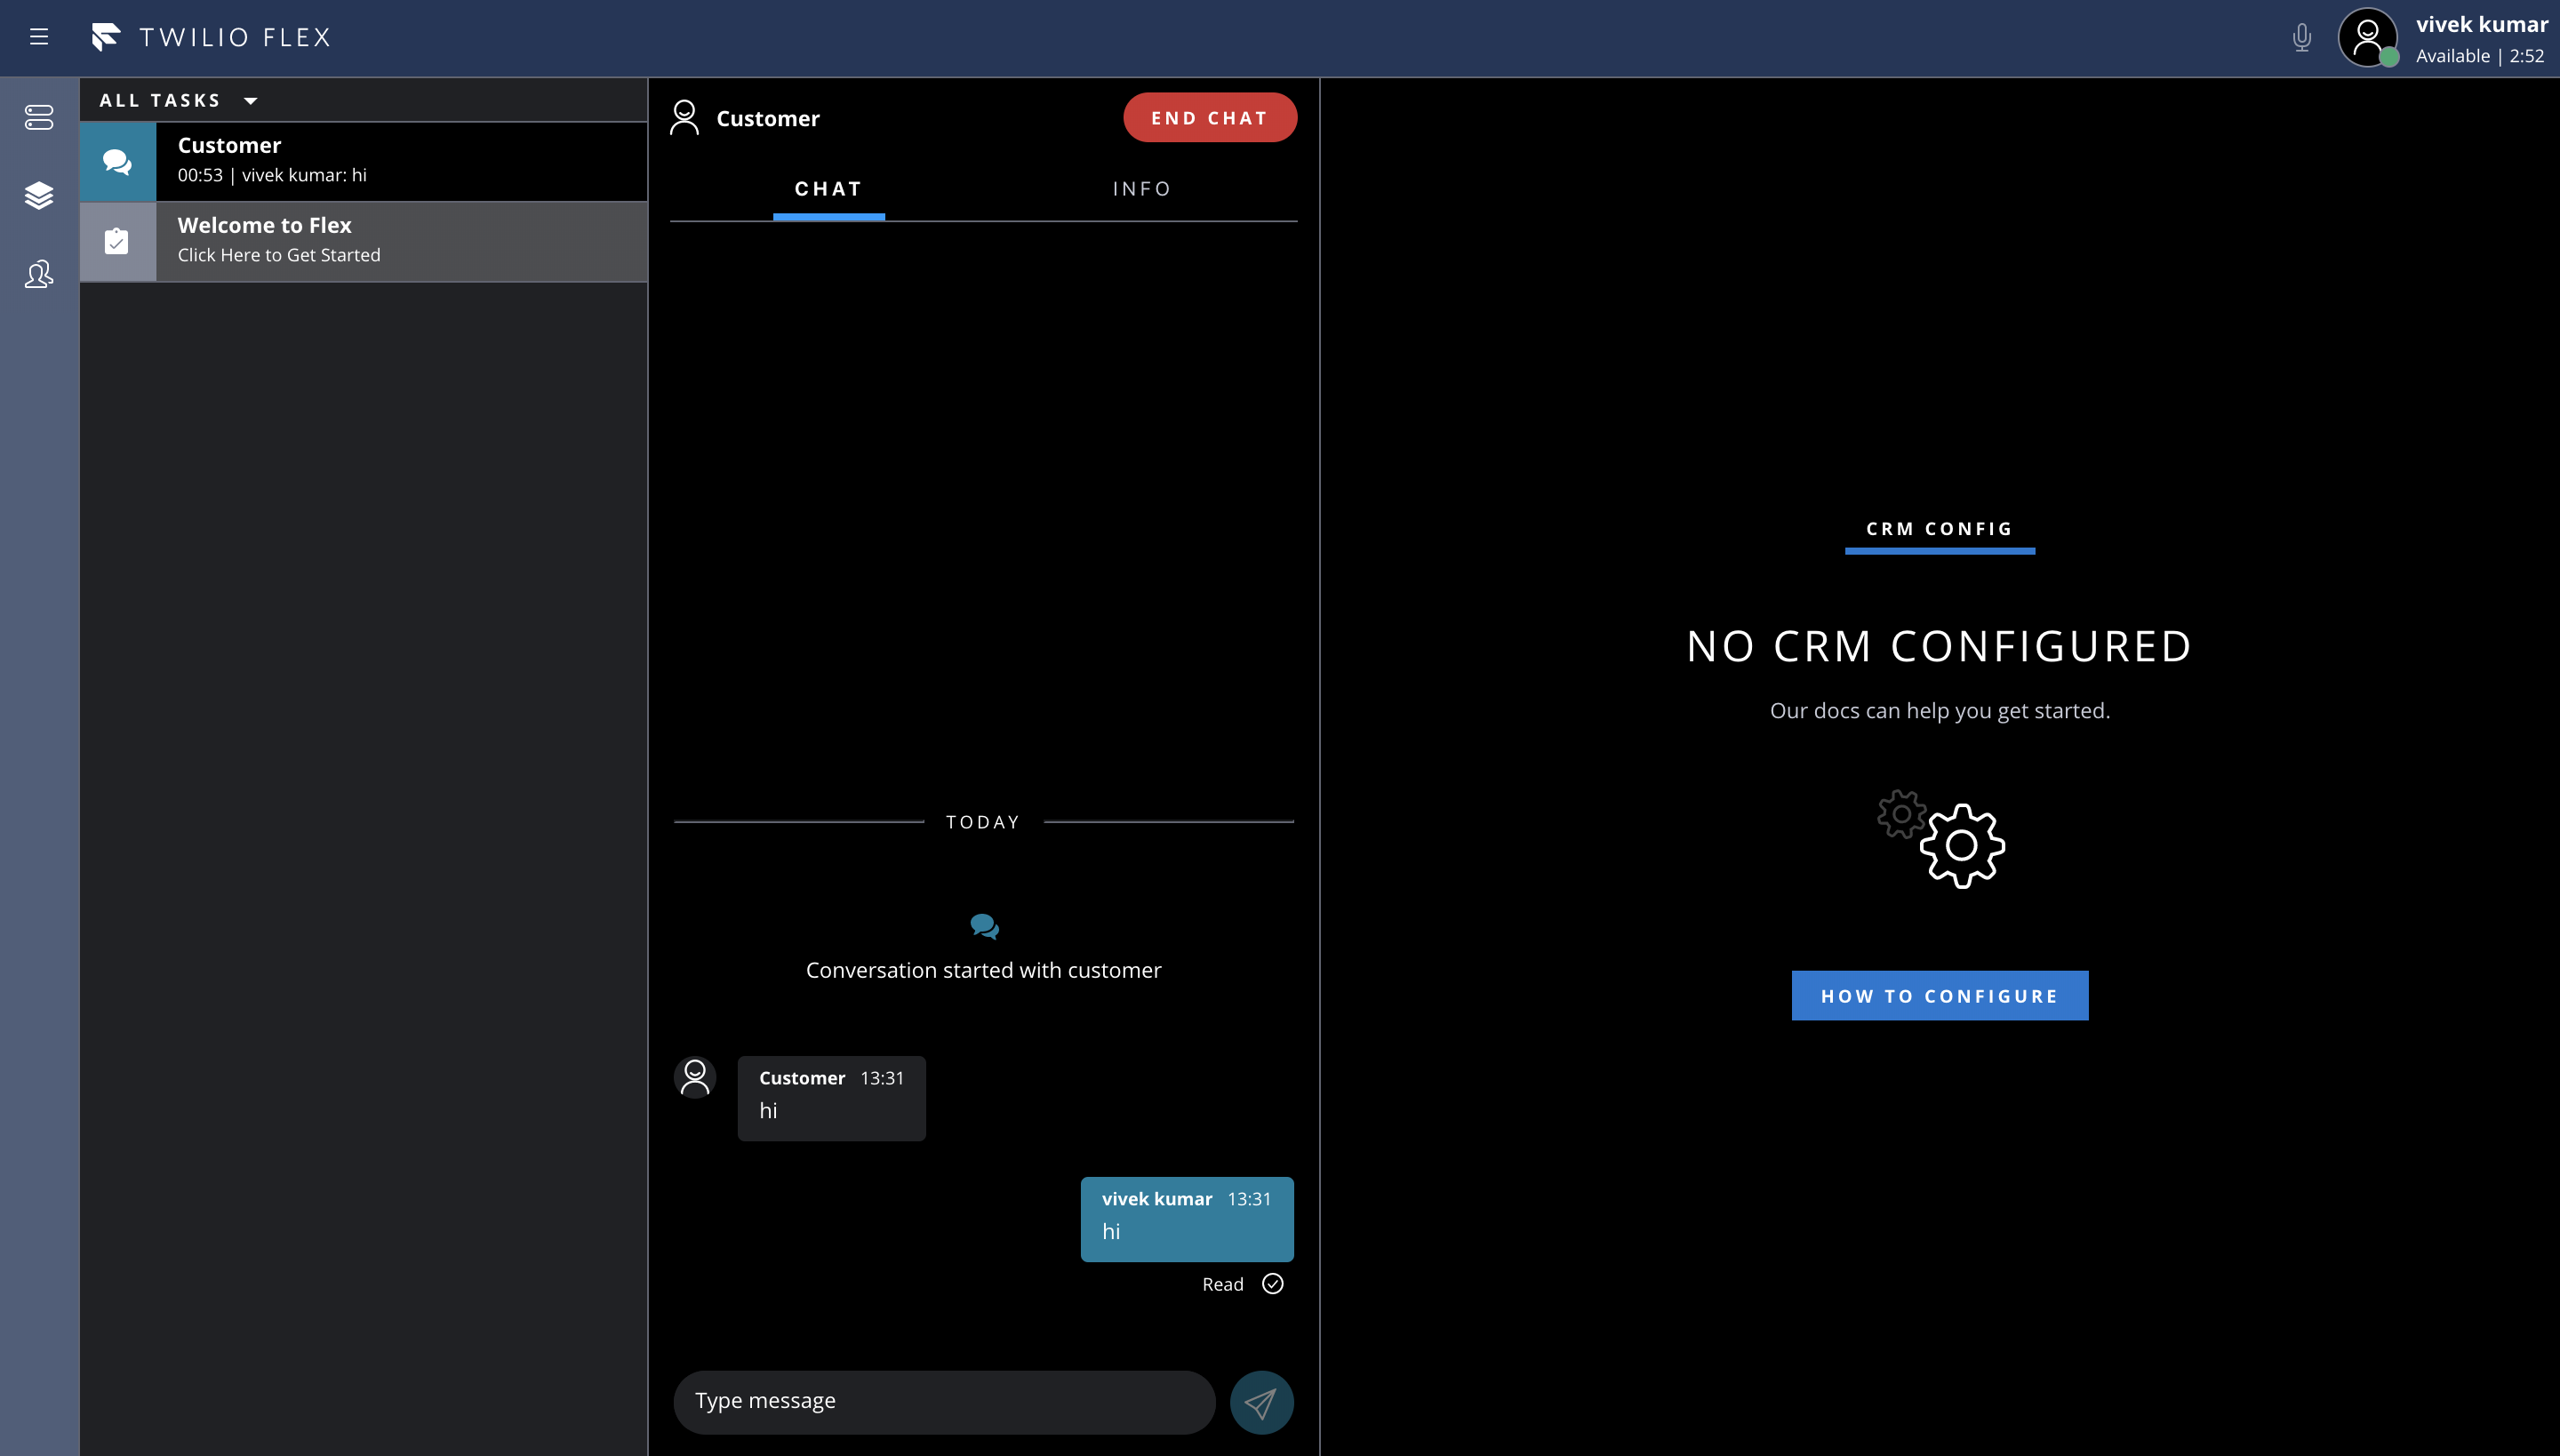
You are now ready to you Twilio Flex on your local system.
- Local project will look something like this. We will mostly work in public and src folders.
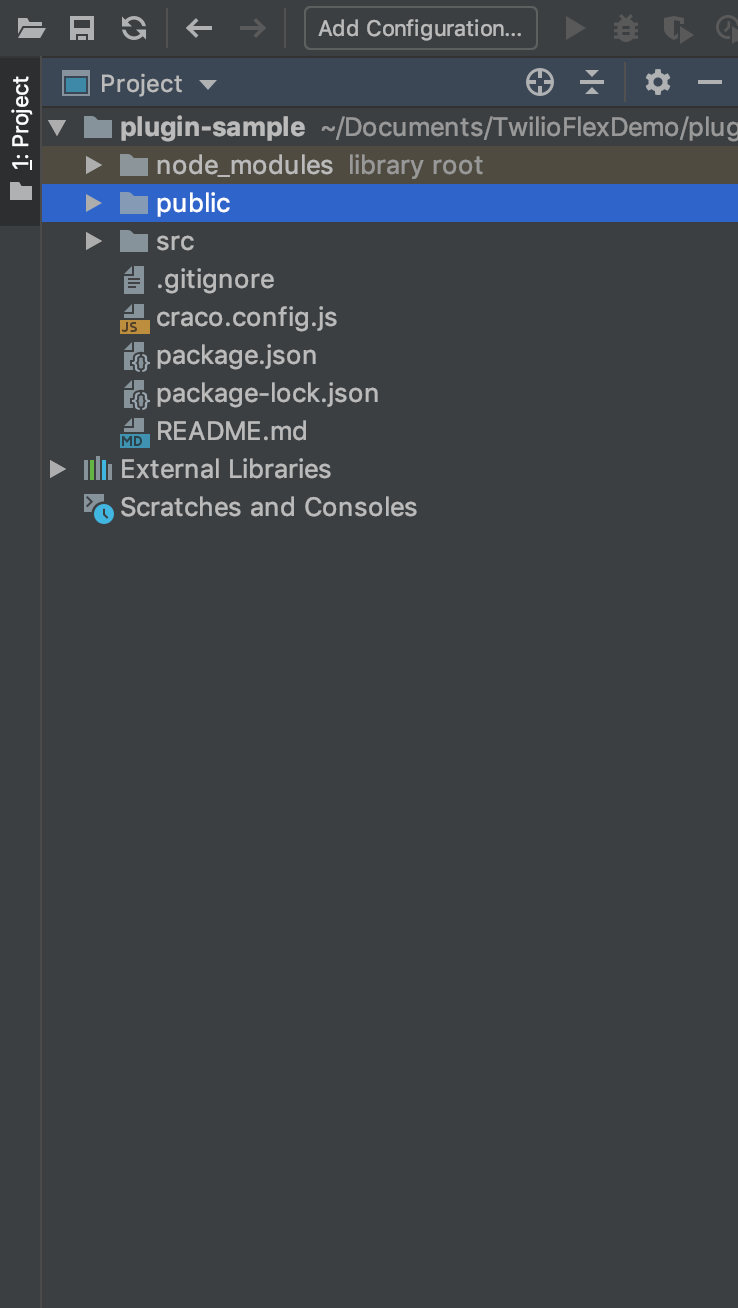
- We will talk about the folder structure, files and other important aspects of Twilio Flex in next section.
How to setup Twilio Flex on Local system.